


Introduction
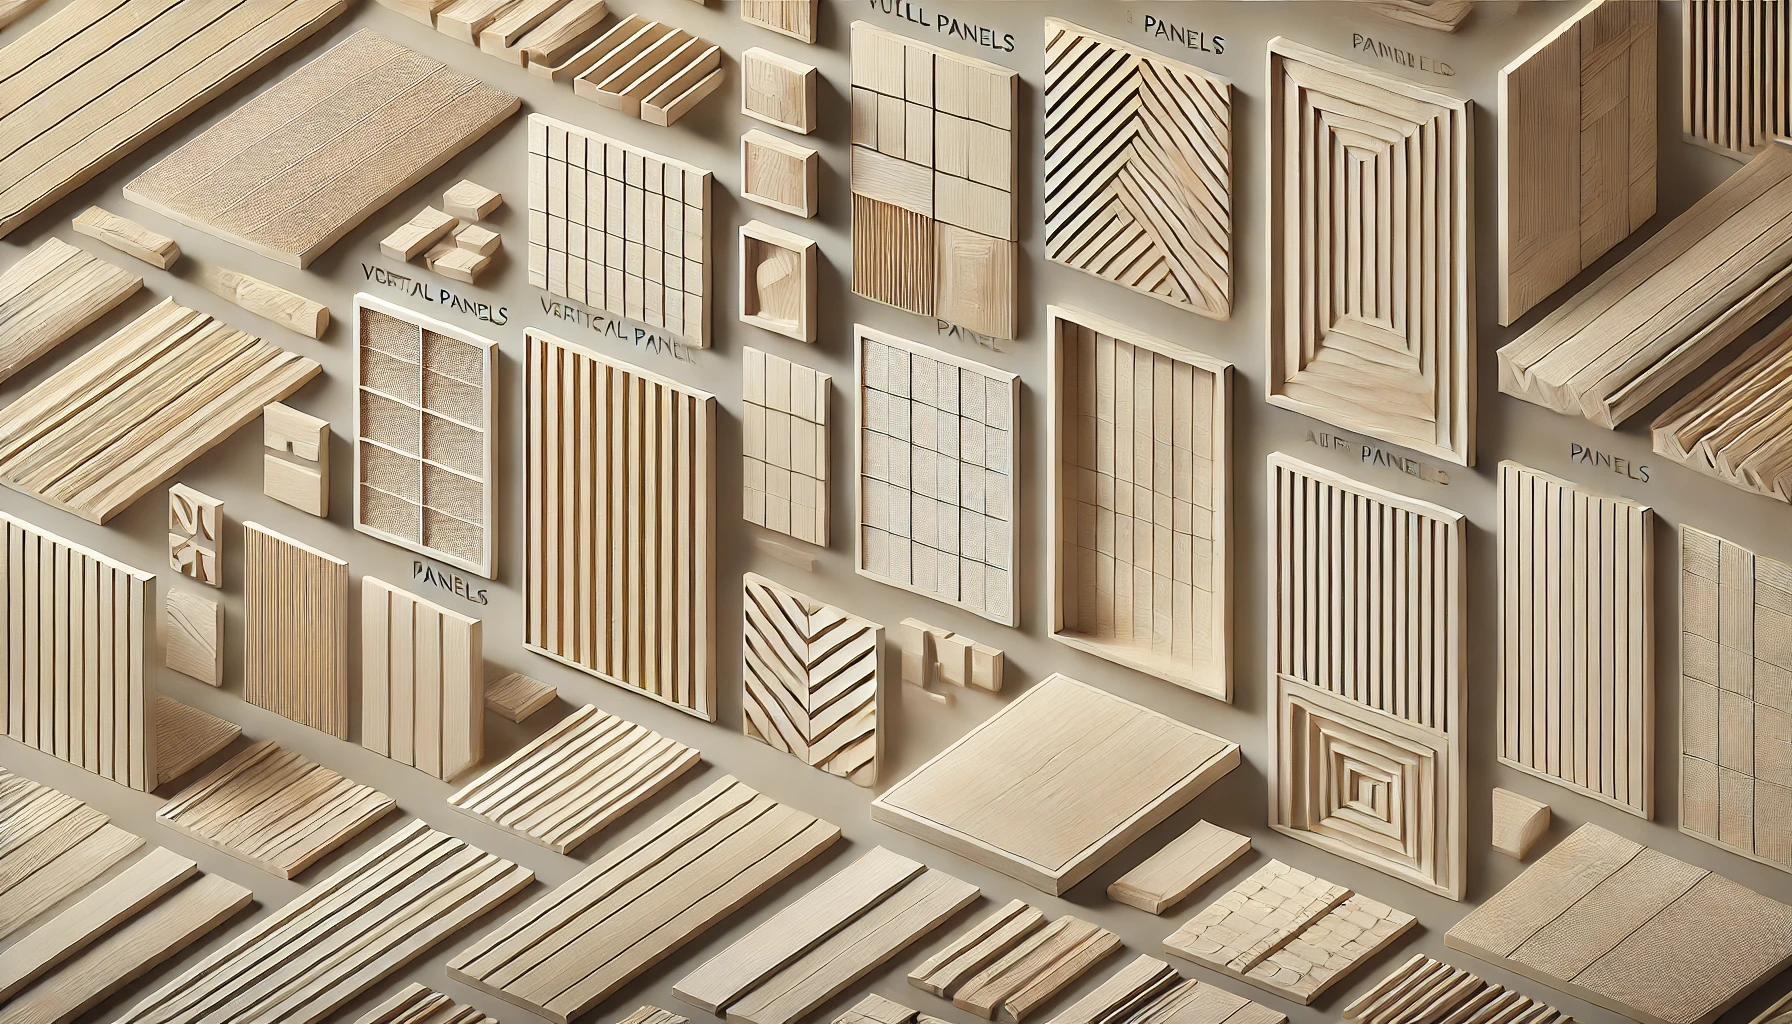
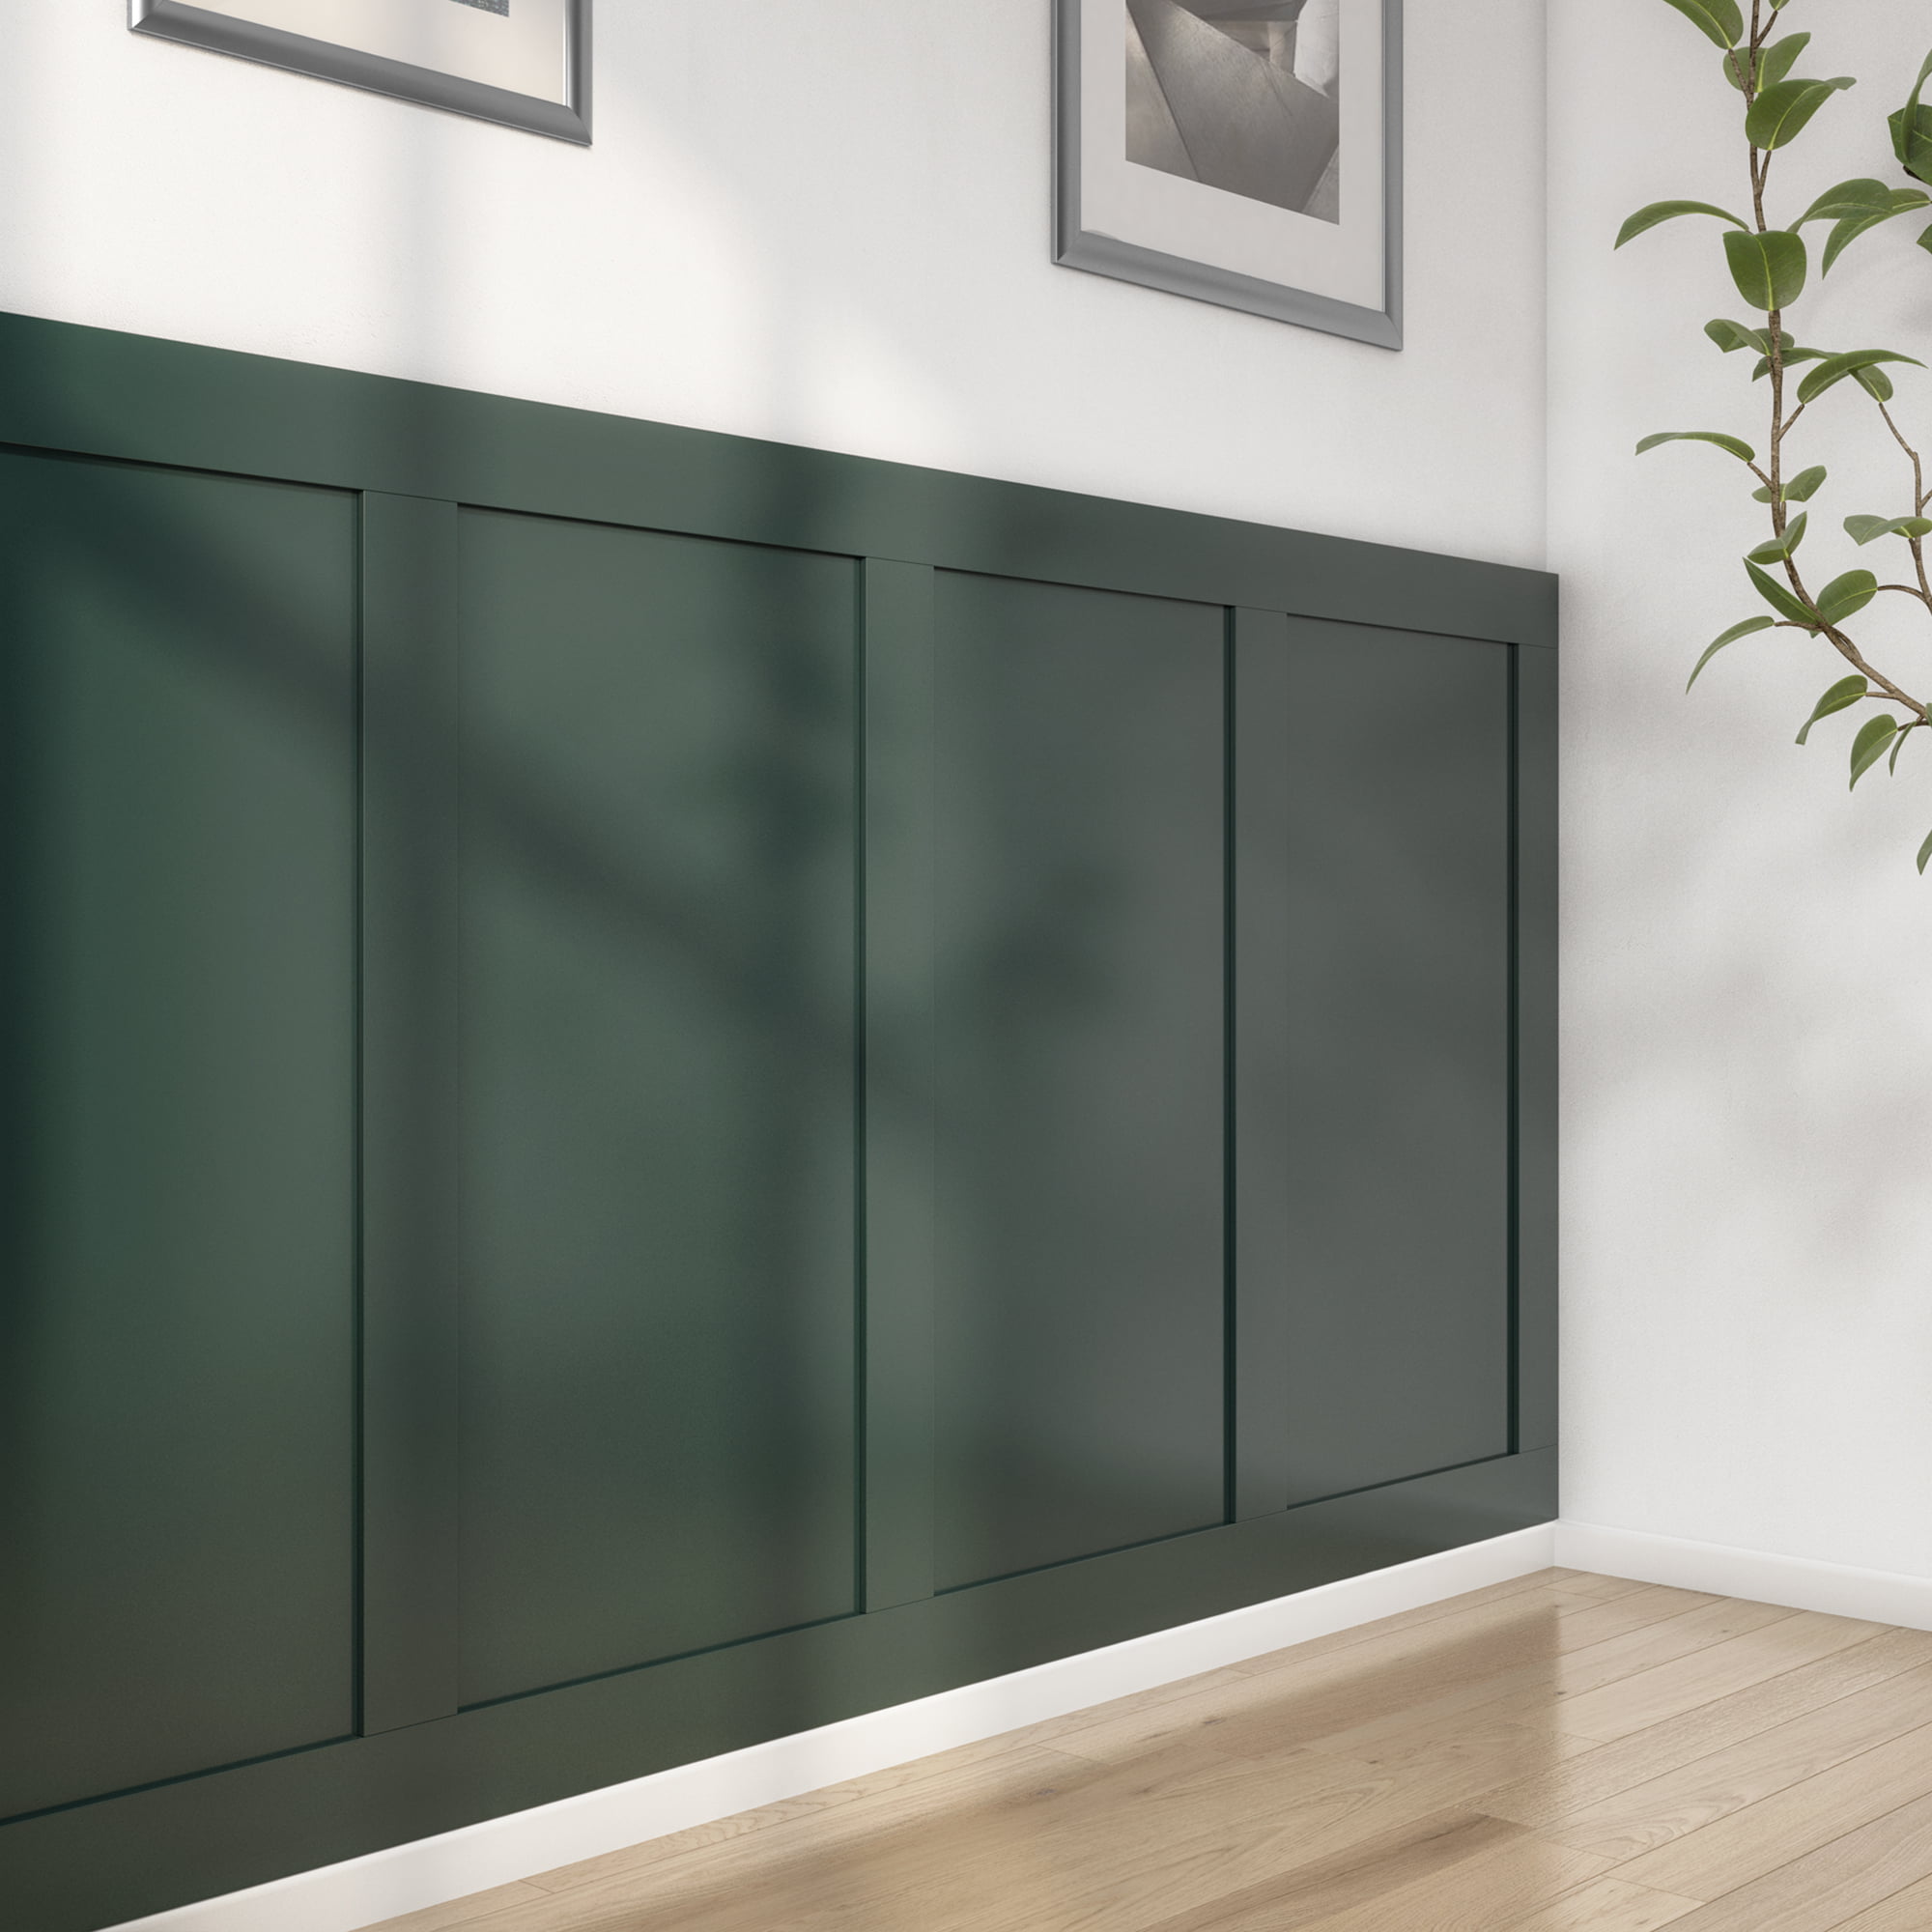
Wall paneling has become a popular trend in home decor, offering a chic and elegant way to transform any space. Not only does it add texture and dimension to your walls, but it also provides a durable and long-lasting finish. MDF (Medium Density Fiberboard) is an excellent material choice for wall paneling due to its smooth surface and ease of customization. In this guide, we will walk you through the process of creating stylish wall paneling using MDF products from Kelvin Timber.
Materials and Tools Needed
Materials:
- MDF panels from Kelvin Timber
- Wood adhesive
- Wood filler
- Primer
- Paint.
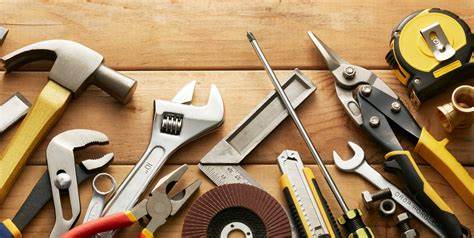
Tools:
- Measuring tape
- Pencil
- Level
- Saw (hand saw or circular saw)
- Sandpaper
- Paintbrushes or rollers
- Nail gun or hammer and nails
- Safety goggles and gloves
Good And Proper Decorators Caulk & Filler (300ml) – White
Original price was: £2.98.£2.34Current price is: £2.34. Add to basketGOOD & PROPER Instant Mortar Repair – 300ml
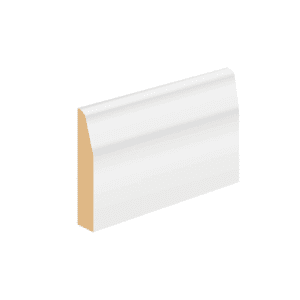
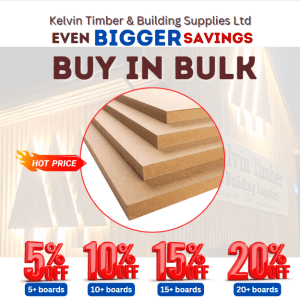
£6.98 Select options This product has multiple variants. The options may be chosen on the product pageMDF Board 2440mm x 1220mm
£16.32 – £83.04
£15.83 – £80.55 Select options This product has multiple variants. The options may be chosen on the product page


Whats The Best Thickness of MDF to use for Wall Panelling?
The Best Thickness of MDF for Wall Paneling Is...
When it comes to wall paneling, the thickness of the MDF you choose can affect both the look and durability of the panels. Here are some guidelines to help you select the best thickness:
- 4mm and 6mm: These thinner options are ideal for decorative paneling where the panels are primarily for visual impact rather than structural support. They are lightweight and easy to cut, making them suitable for intricate designs or patterns.
- 9mm: This thickness provides a balance between durability and ease of handling. It is sturdy enough to offer a substantial feel while still being relatively easy to cut and install. Ideal for wainscoting or more durable decorative panels.
- 12mm: Offering more strength and durability, 12mm MDF is great for panels that may encounter some impact or need to support additional weight, such as in busy areas or commercial spaces.
- 18mm and 25mm: These thicker MDF boards are typically used for furniture making or heavy-duty applications. They are not commonly used for wall paneling due to their weight and thickness, but they can be used for creating very robust panels or when additional insulation is desired.
Wall panelling: For wall panelling, MDF thicknesses of 1/4 inch (6mm) to 3/8 inch (9mm) are usually utilized. B. Ceiling panelling: When it comes to ceiling panelling, thinner MDF panels are often used owing to weight concerns.


How Easy is it to Cut MDF Panels to Create Wall Panels? Hints and Tips
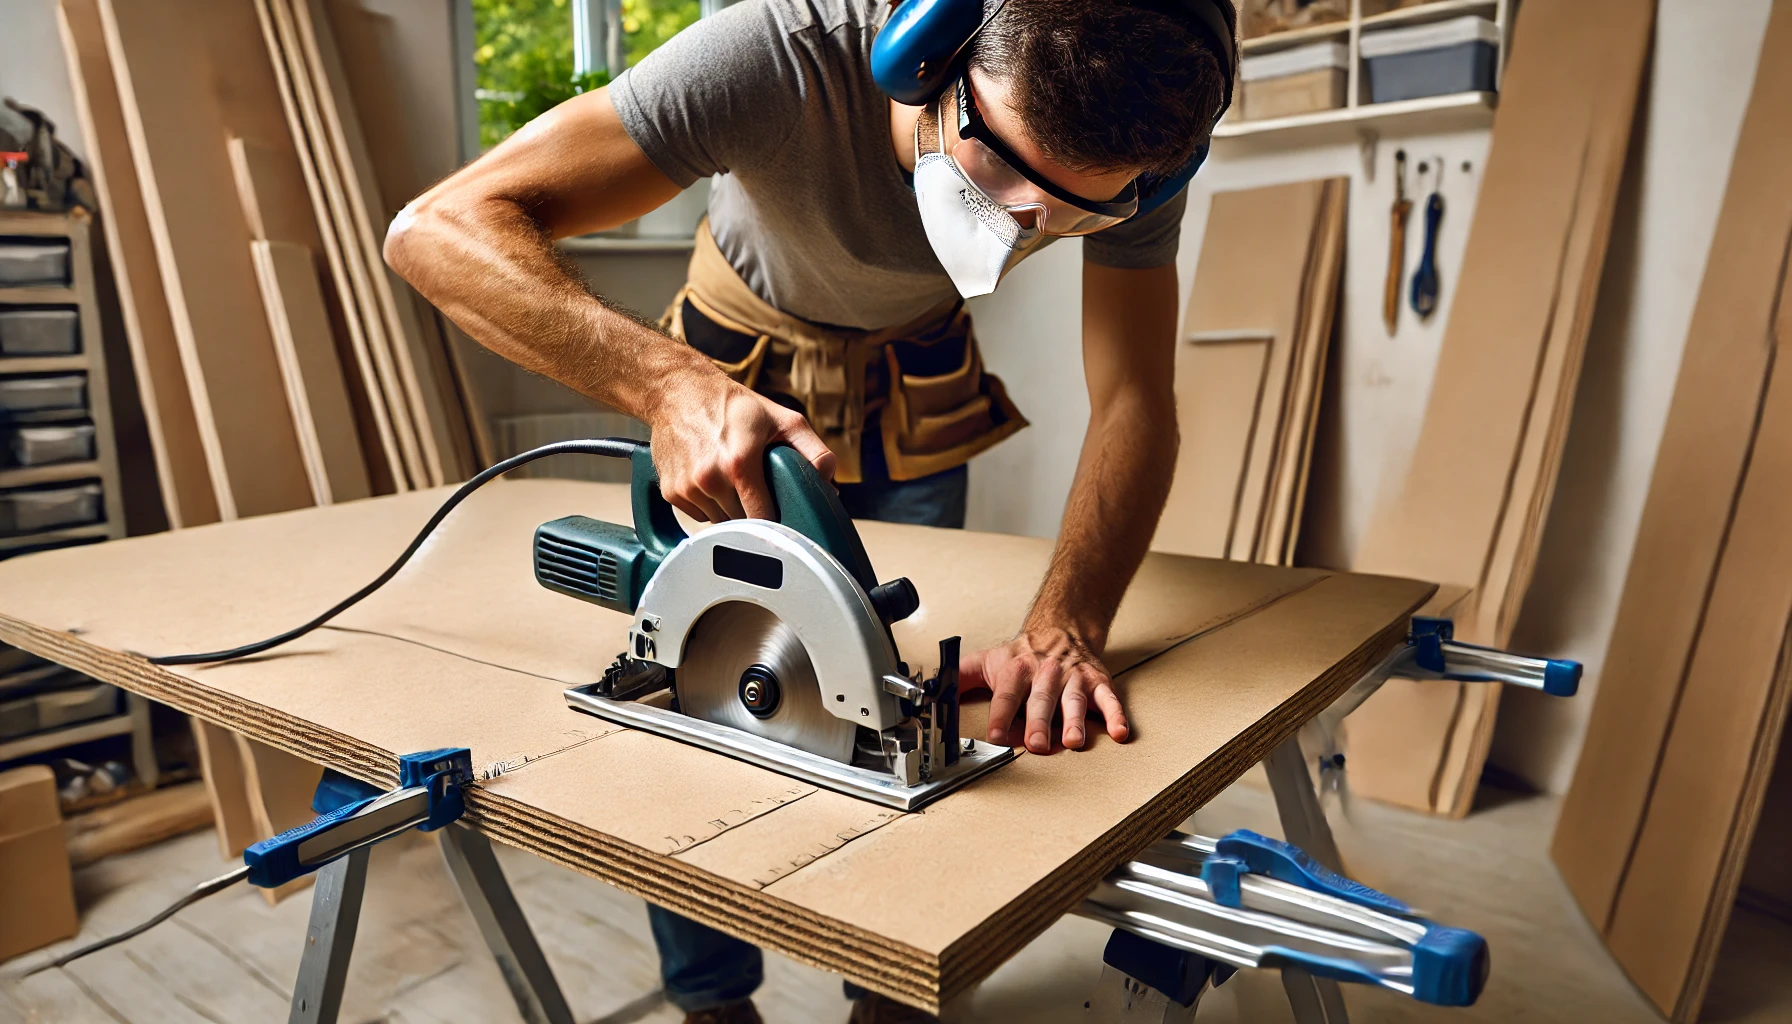
Cutting MDF panels to create wall panels is relatively easy if you follow the right steps and use the proper tools. Here are some helpful hints and tips to ensure a smooth and successful project:
1. Choose the Right Tools
- Saw: Use a circular saw for straight cuts and a jigsaw for curved or intricate cuts. A table saw can also be very helpful for making long, straight cuts.
- Blades: Use carbide-tipped blades designed for cutting MDF to ensure clean cuts and reduce chipping.
- Safety Gear: Wear safety goggles, a dust mask, and hearing protection. MDF produces a lot of fine dust when cut, which can be harmful if inhaled.
2. Mark Your Cuts Accurately
- Measure Twice, Cut Once: Always double-check your measurements before cutting. Use a measuring tape and a straight edge to mark your cuts accurately.
- Pencil Lines: Use a pencil to draw your cutting lines on the MDF panel. Make sure the lines are clear and precise.
3. Secure the MDF Panels
- Clamp Down: Secure the MDF panel with clamps to prevent it from moving while you cut. This will help you achieve straight, accurate cuts and reduce the risk of injury.
- Support: Place the MDF on a stable surface or sawhorses. Ensure the panel is fully supported to avoid flexing or breaking.
4. Cutting Techniques
- Straight Cuts: For straight cuts, use a circular saw with a guide or a table saw. Keep a steady pace and let the saw do the work. Avoid forcing the blade through the material.
- Curved Cuts: For curved or intricate cuts, use a jigsaw. Follow the marked lines carefully and go slowly to maintain control.
- Score and Snap: For thinner MDF (up to 6mm), you can score the surface with a utility knife and then snap the panel along the scored line.
5. Finishing the Edges
- Sanding: After cutting, sand the edges of the MDF to remove any roughness or splinters. Use fine-grit sandpaper (150-220 grit) for a smooth finish.
- Edge Banding: If desired, apply edge banding to the exposed edges of the MDF to give it a finished look and protect it from damage.
6. Safety Tips
- Ventilation: Work in a well-ventilated area or use a dust extraction system to manage MDF dust.
- Dust Mask: Always wear a dust mask to avoid inhaling fine MDF particles.
- Eye Protection: Wear safety goggles to protect your eyes from dust and debris.
Additional Tips
- Practice Cuts: If you are new to cutting MDF, practice on a scrap piece first to get a feel for the saw and blade.
- Pre-cut Panels: If you prefer, you can have the MDF panels pre-cut to your specifications at the store where you purchase them.
By following these tips and using the right tools, you can easily cut MDF panels to create beautiful wall panels for your home. With careful planning and attention to detail, your DIY wall paneling project will look professional and polished.
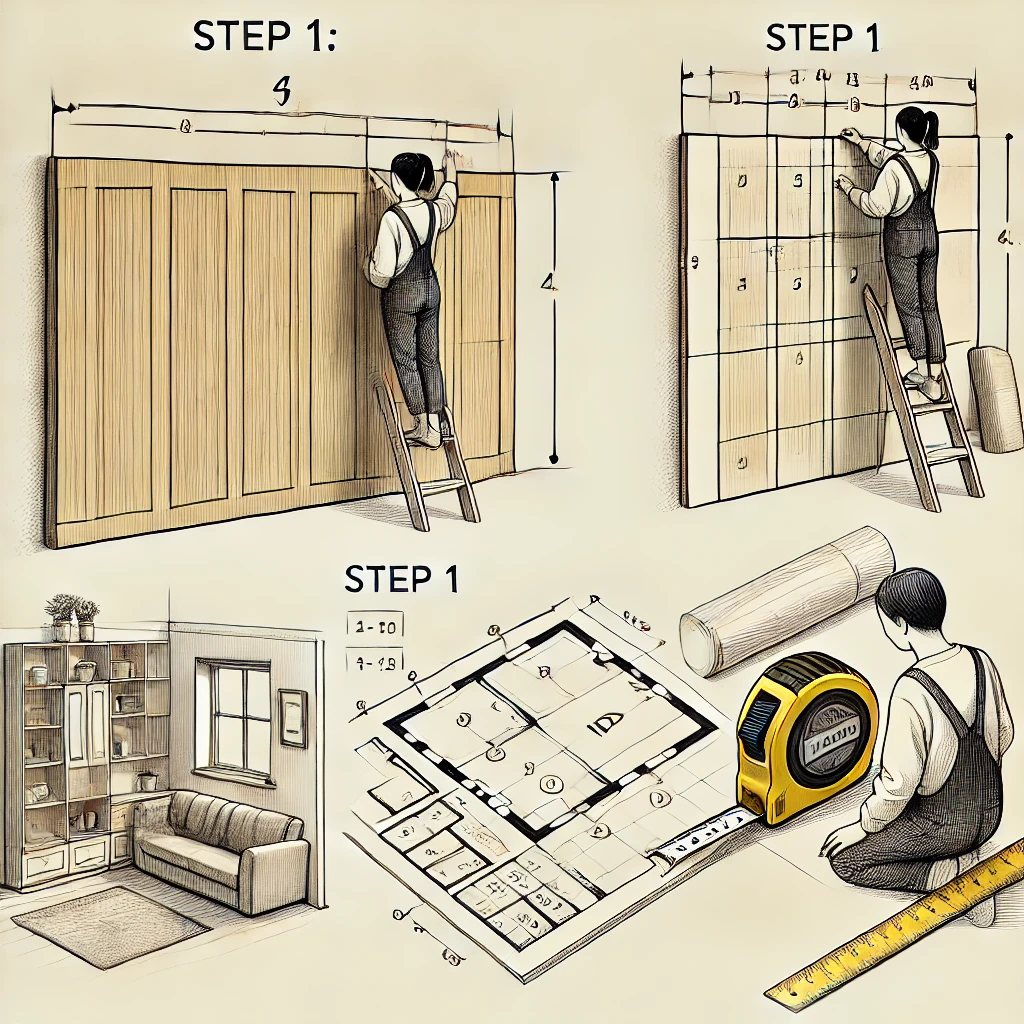
Step 3: Preparing the Wall

Clean the wall surface to remove any dust or debris. Use a pencil and level to mark the layout of your paneling design on the wall. This will serve as a guide during installation.
Step 4: Installing the MDF Panels
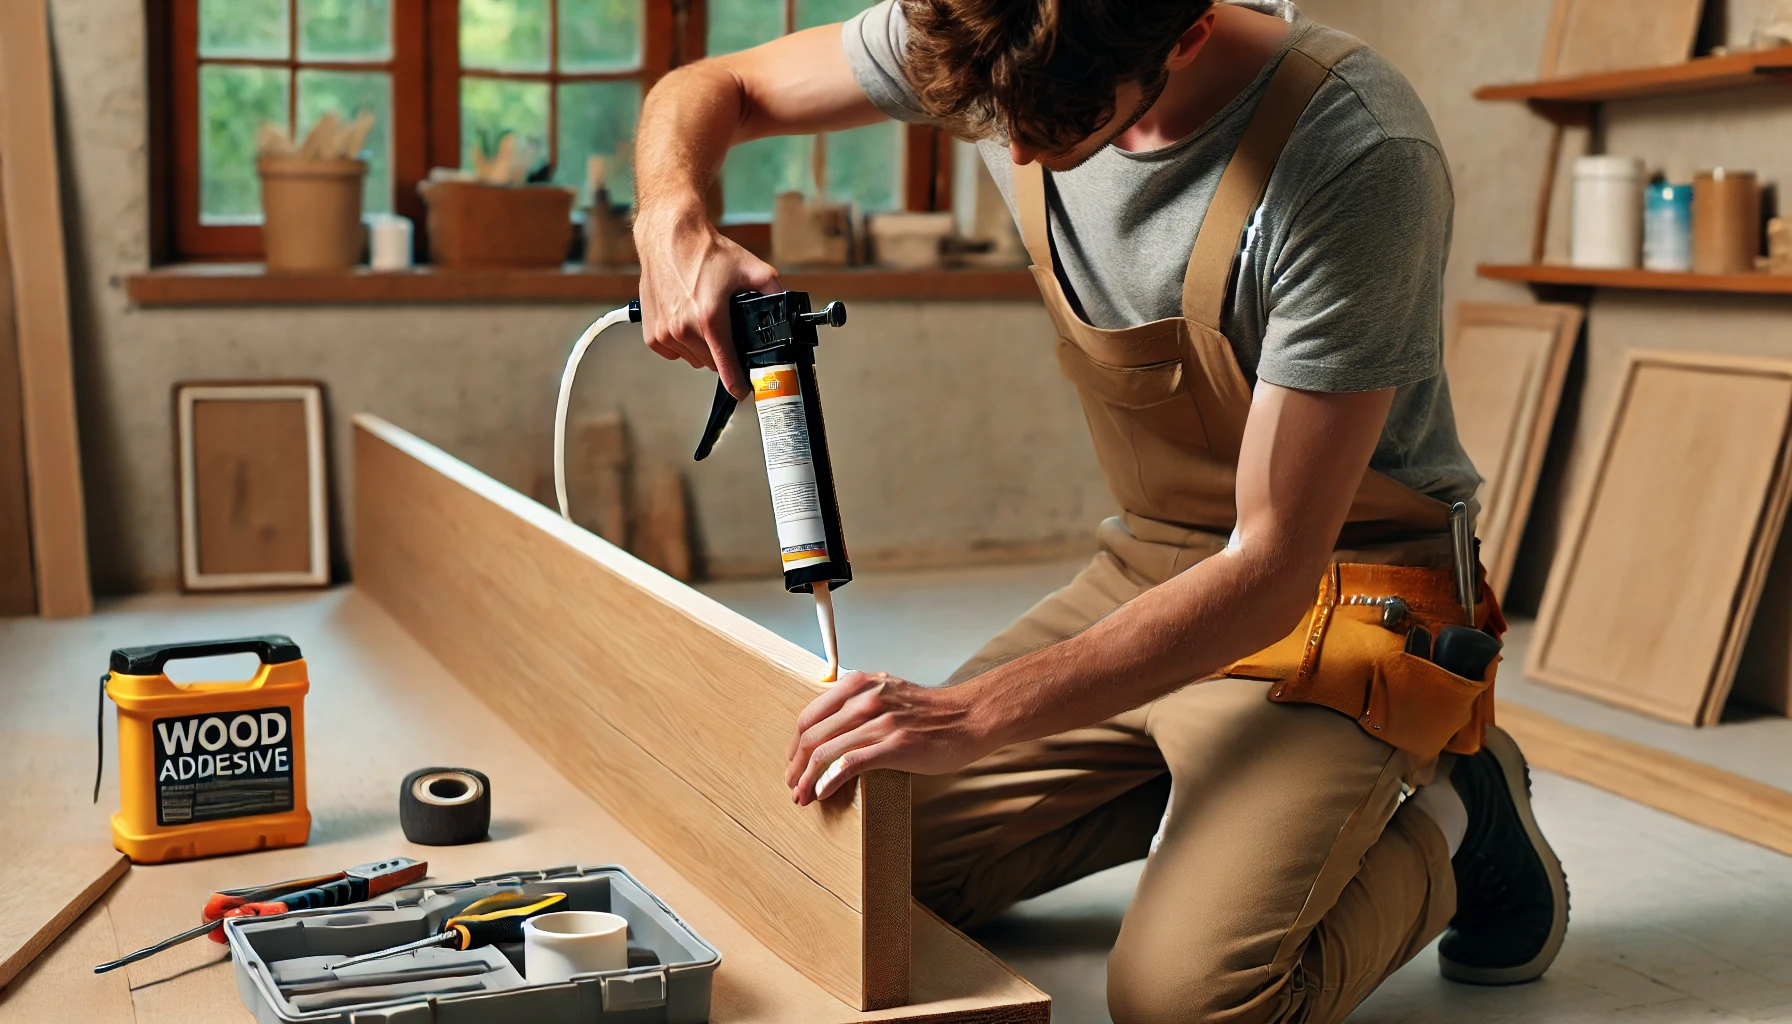
Apply wood adhesive to the back of each MDF panel. Position the panel on the wall according to your layout marks. Press firmly to ensure a good bond. For added support, use a nail gun or hammer and nails to secure the panels in place. Repeat this process for all panels, ensuring they are aligned and level.
Step 5: Finishing Touches
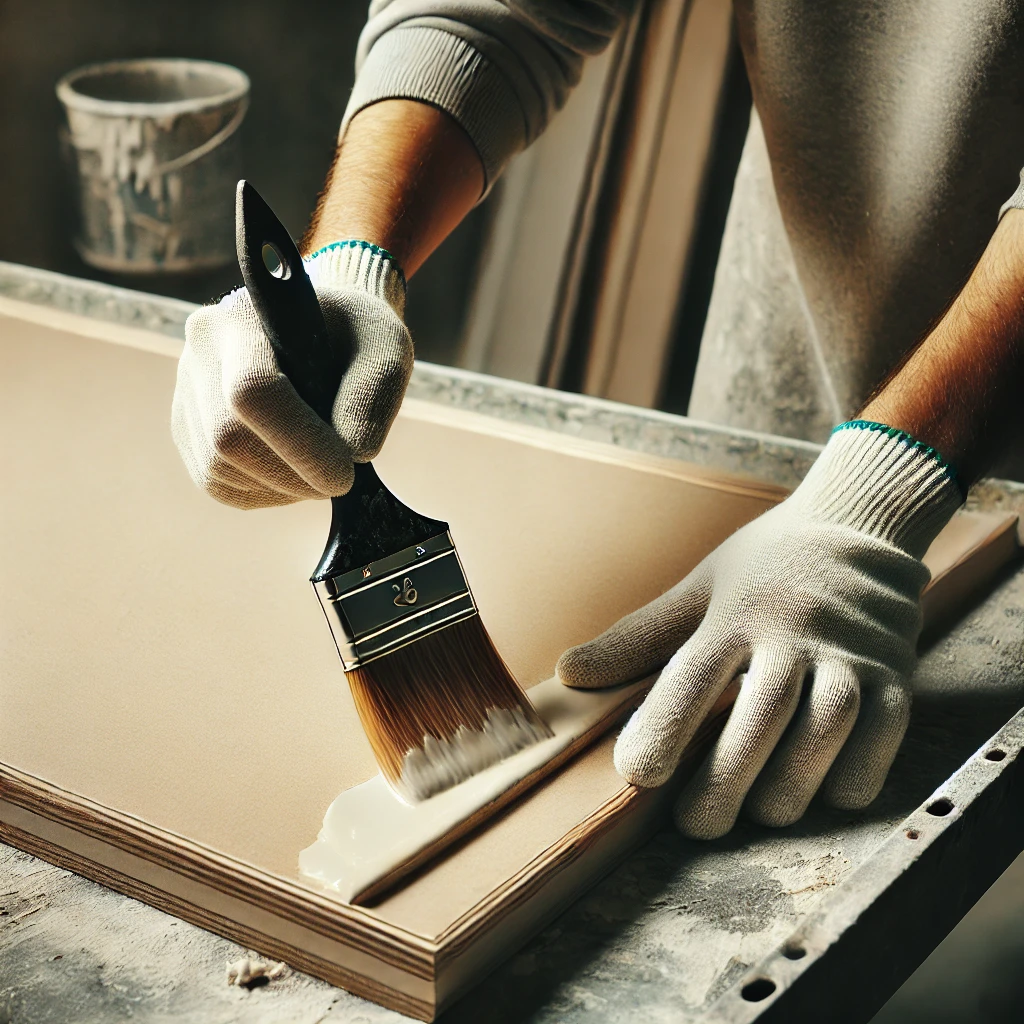
Once all the panels are installed, fill any gaps or nail holes with wood filler. Sand the filler smooth after it dries. Prime the MDF panels to prepare them for painting. Once the primer is dry, apply your chosen paint color for a beautiful, finished look.
Conclusion
MDF wall paneling is a fantastic way to add style and sophistication to your home. With Kelvin Timber’s high-quality MDF products, you can easily achieve professional results. So why wait? Start your DIY wall paneling project today and transform your space with beautiful, durable panels. Visit Kelvin Timber’s website to explore our range of MDF products and get started on your next home improvement project today.
Need Expert Help?
Get In Touch Today with Our Friendly Team

If you need to discuss your project with us, you can always book an appointment in store or over the phone, we have experts on hand for any help with your DIY project. Head over and book an appointment and one of the team will be in touch on your preferred time, either by call or pop in to the store to sit down and have a chat.