


When it comes to securing property borders in the UK, wooden fencing stands out as a practical and popular choice. In this article, Kelvin Timber, a leading supplier of wooden fencing, explores the easiest fence to install independently in the UK and provides valuable insights to simplify the process for homeowners.
Understanding UK Fencing
Wooden fencing stands out as a timeless choice in the UK, prized for its durability, versatility, and eco-friendliness. Let’s explore the various types of traditional wooden fencing options available and their unique characteristics.
Understanding Traditional Wooden Fencing:
- Closeboard fencing: Features overlapping vertical boards, offering maximum privacy and a robust structure.
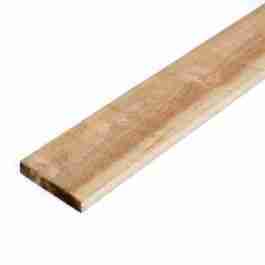
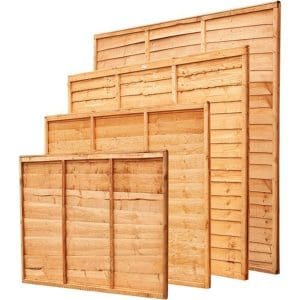
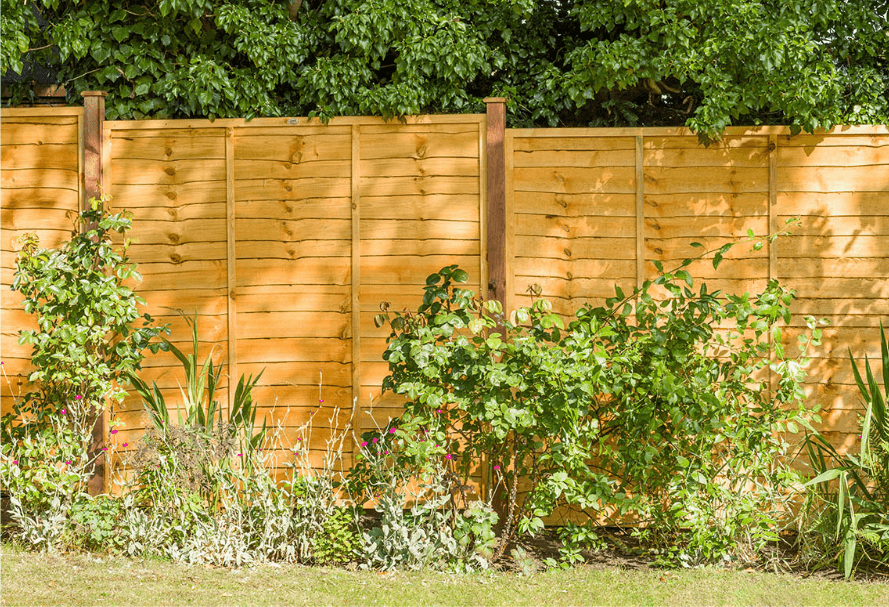
- Lap panel fencing: Consists of horizontally overlapping slats, providing a cost-effective solution for creating boundaries and ensuring privacy.
- Slats Fencing: Characterised by evenly spaced vertical boards, making it an ideal choice for those seeking a more decorative option.
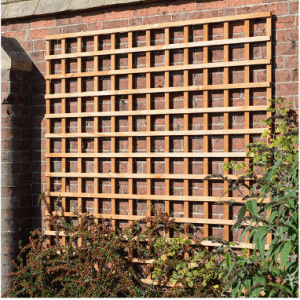
- Trellis fencing: Comprises an open framework of intersecting lattices, offering a stylish way to screen off areas, support climbing plants, or enhance aesthetic appeal.
These traditional wooden fencing options offer homeowners a range of choices to suit their specific needs and preferences, whether it’s enhancing privacy, adding decorative elements, or supporting climbing plants.
The Easiest Fence To Install: OverLap Panel Fencing
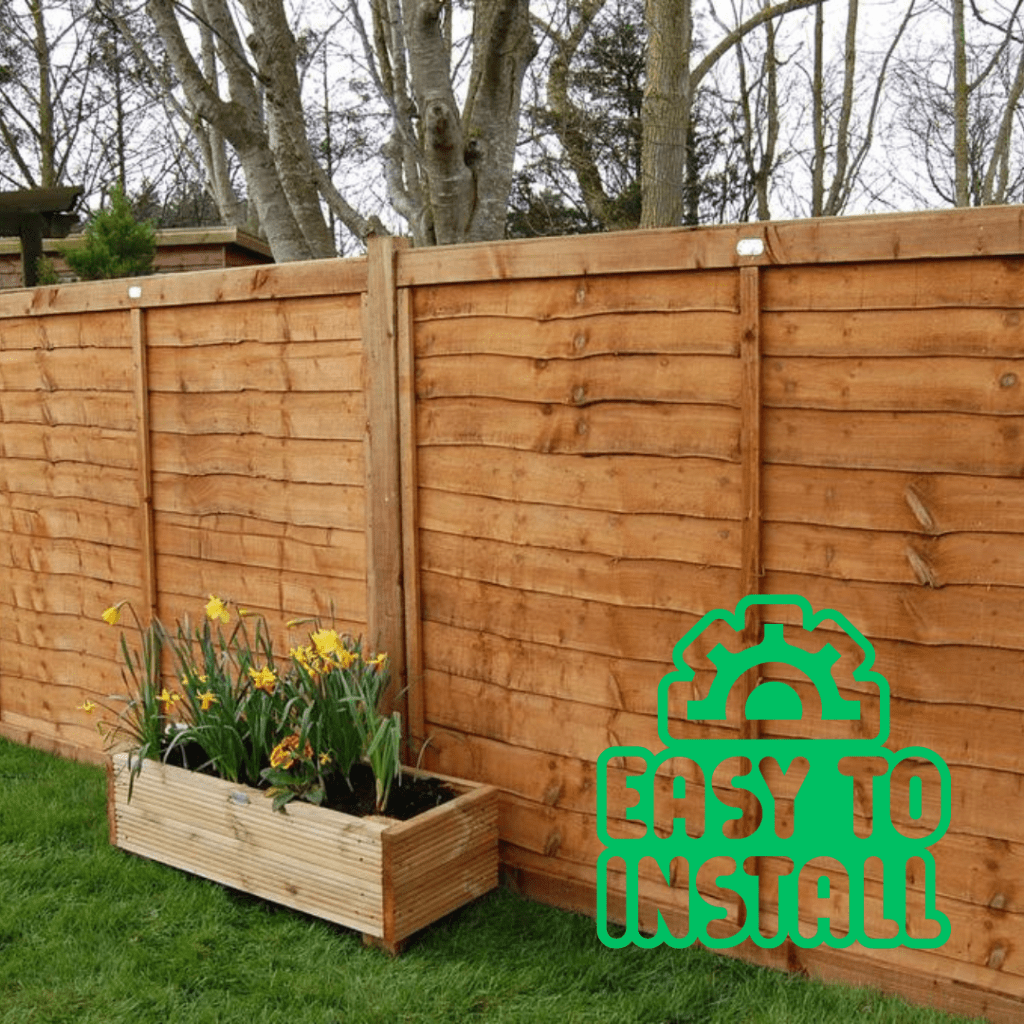
Overlap panel fencing is hailed as the simplest wooden fence to install for UK homeowners. Its pre-assembled panels streamline the process, making it a breeze even for novices. Let’s explore its advantages:
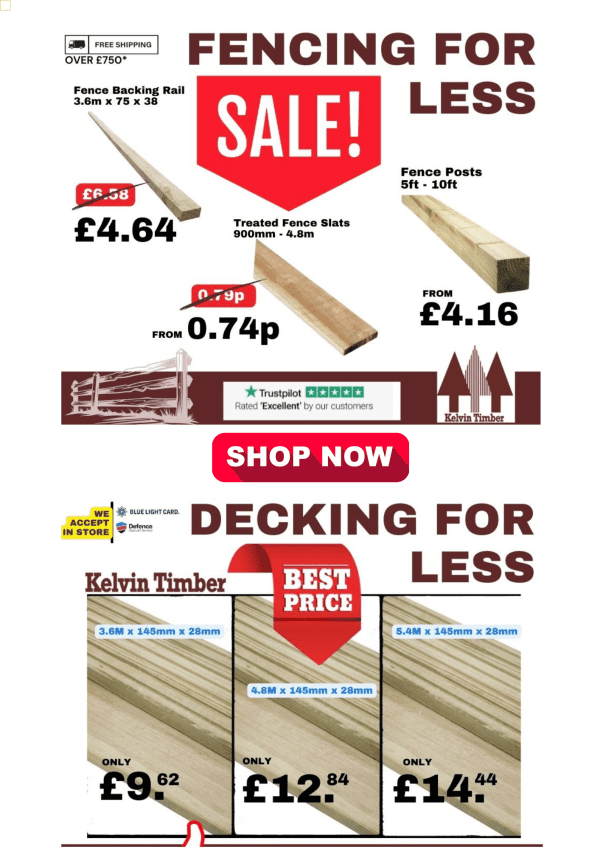
- Affordability: Lap panel fencing is a budget-friendly option, perfect for those mindful of costs.
- Easy Installation: DIY enthusiasts will find the process straightforward, thanks to the pre-assembled panels.
- Low Maintenance: The pressure-treated wooden panels ensure durability against the elements with minimal upkeep required.
Installing Lap Panel Fencing Yourself
Ready to tackle your lap panel fencing project? Here’s what you’ll need:
- OverLap panels
- Wooden or concrete fence posts
- Post mix (concrete)
- Post caps
- Gravel boards (optional)
- Fencing clips
- Spirit level
- Tape measure
- String line
- Spade or post hole digger
- Rubber mallet
Follow these steps for a successful installation:
- Measure and Mark: Use a tape measure and string to mark the fence line, ensuring a level surface.
- Dig Holes: Space out holes for fence posts, matching the panel width.
- Install First Post: Ensure vertical alignment using a spirit level, then set with post mix.
- Attach Panels: Fix fencing clips to the post, slide in gravel board and panel, securing them firmly.
- Repeat Process: Continue installing posts and panels, ensuring alignment throughout.
- Finishing Touches: Complete with post caps for a polished look and added protection.
With these steps, you’ll have your overlap panel fence installed in no time, enhancing both your property’s aesthetics and security.